The Headlands Crop & market planner
Build a season plan that respects fuel, weather, and living prices.
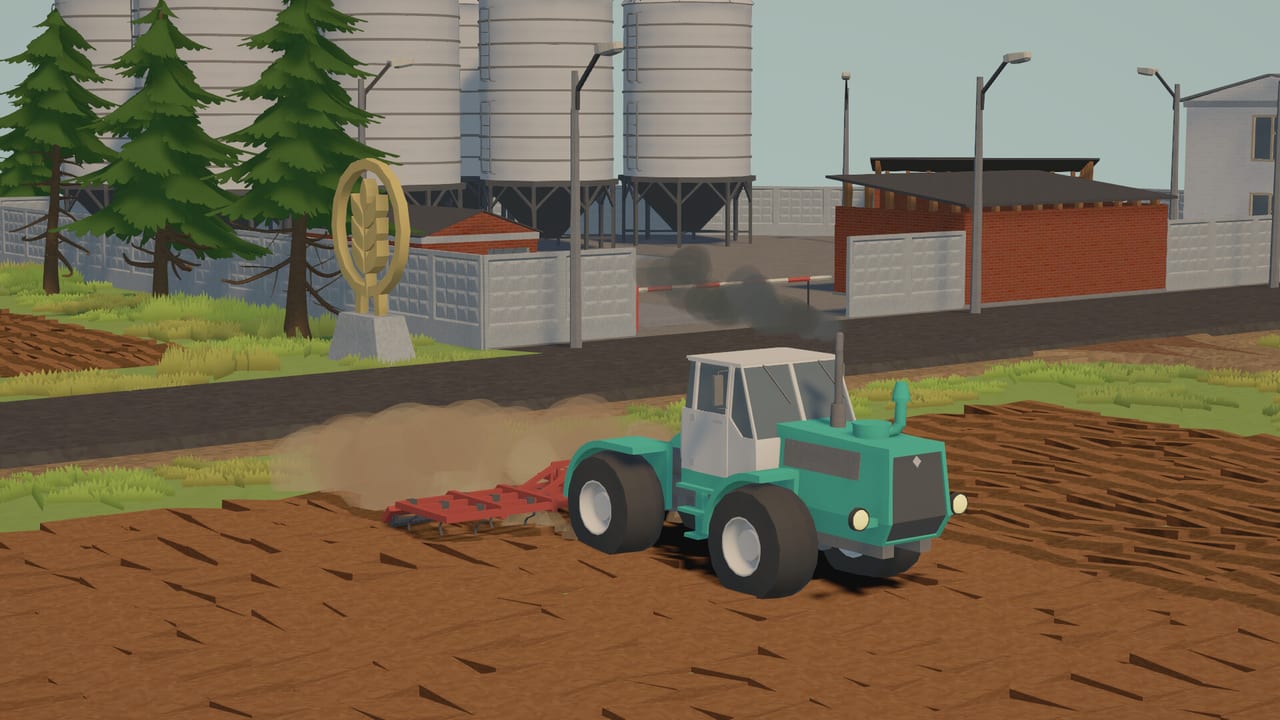
This Crop Planner is a practical worksheet for The Headlands. It will not scrape live prices—the in-game market already does that, sometimes while your grain sits in the truck bed. Instead, it forces clear choices: which parcels get which crops, when you harvest, whether you sell raw, and which machines must be free that week.
Use it beside Farming Basics, Weather, Production Chains, and Contracts.
Step 0 — Write your constraints
Before picking seeds, list:
- Fuel reserve (days of work you can fund without a panic sale).
- Tractor hours available (Tractors).
- Harvest capacity (Harvesters).
- Storage / processing readiness.
- Active neighbour contracts and their deadlines.
If any line is blank, you are gambling, not planning.
Step 1 — Split land by job
Divide fields into three buckets:
- Cash grain / oilseed — wheat, buckwheat, sunflower, flax, poppy: acreage plays that love combines later.
- Vegetable beds — potatoes, carrots, onions, beets, garlic: denser work, often slower harvest, useful for contracts and diversified sales.
- Flex plots — kept ready for opportunistic sowings when prices or story beats shift.
Do not put every hectare on one crop that matures the same week a storm arrives.
Step 2 — Stagger maturity
Aim for rolling harvests, not a single boss fight against the sky. Example early-mid pattern:
| Week focus | Plot A | Plot B | Plot C |
|---|---|---|---|
| Prep | Wheat till/sow | Potato beds | Rest / manure logistics |
| Grow | Wheat | Potatoes | Buckwheat sow |
| Cut | Wheat window | Potato lift | Buckwheat grow |
| Reset | Process or sell | Sell / contract | Buckwheat cut |
Adjust to your unlocked crops and village rhythm. The table is a template, not a speedrun route.
Step 3 — Decide sell-raw vs process
For each crop, pick a default path:
- Sell raw when prices spike and storage is full.
- Process when chains add reliable margin and you can wait (Production Chains).
- Hold only with storage and a weather-safe plan—holding in the field is not holding.
Write the default on paper (or in a note). Change it deliberately when the market moves, not mid-panic.
Step 4 — Fuel the plan
Translate the season into diesel:
- Tillage passes × fields.
- Haul trips × distance to barn/market.
- Harvest hours × machine thirst.
If the fuel sum exceeds your reserve plus expected contract cash, cut acreage or delay a flex plot. Machines ranked on the Machinery Hub only matter if they run.
Step 5 — Weather gates
Mark “no-go” days conceptually: after heavy rain, wait for workable ground. Schedule the riskiest exposed fields first when a clear window opens. Details: Weather.
Step 6 — Contract alignment
Check whether neighbours need the same crop you planned to process. Sometimes fulfilling a contract funds the next tank and unlocks story progress even if the spot price is mediocre. Planner rule: contracts can override pure market max when they unlock capacity.
Crop quick notes
Wheat. Core teaching crop. Scales into combine territory; easy to overproduce into soft prices—pair with processing or staggered sales.
Buckwheat. Diversifies grain risk; useful when wheat piles feel cursed.
Poppy / flax / sunflower. Oilseed and specialty vibes; great mid-farm once you respect their timing and storage.
Potatoes & roots (carrots, beets, onions, garlic). Contract-friendly, labour-shaped, less about wide headers early. Good insurance when grain markets sulk.
Market behaviour checklist
Each sales day ask:
- Is rain threatening unharvested fields? Cut first, trade second.
- Is the truck already loaded? Accept that the price may have moved—plan loading closer to decision time when possible.
- Would processing beat this quote after time and fuel?
- Do I need cash for a machine repair more than perfect margin?
Sample beginner plan (small farm)
- One wheat field, one potato/onion mix, one flex strip.
- Keep starter + mid tractor hours honest (Getting Started).
- Sell potatoes toward contracts; process a slice of wheat when the chain unlocks.
- Bank fuel before any combine dream (Harvesters).
- Visit Sydorovych only for tools that remove a listed bottleneck (Homemade Machines).
Sample mid-farm plan
- Two staggered grain/oilseed fields, one vegetable block, one experimental crop.
- Processing online for at least one output.
- Combine reserved for the double-maturity week.
- Contract calendar reviewed every Sunday-in-spirit (your own pacing—there is no punishing real-time timer, but seasons still bite).
Common planner failures
- All fields on one maturity date.
- Buying a combine before storage exists.
- Ignoring fuel in the spreadsheet of the mind.
- Treating the market like a static NPC shop.
- Forgetting village life—read Traktorivka.
After each patch
When Early Access adds buildings, crops, or balance tweaks, clone your notes and revise. Track changes via Updates and Roadmap.
Closing
A good plan is a promise to your future self: fewer frantic drives, fewer wet losses, more deliberate evenings in Traktorivka. Revisit this planner whenever the barn feels chaotic—then return to the fields with a quieter head.
Frequently Asked Questions
Quick answers for Early Access farmers in Traktorivka.
Is this an interactive calculator?
No. It is a structured planning guide you apply with in-game prices, fuel, and field knowledge.
Which crop should beginners plant first?
Start with a manageable wheat field plus a small vegetable mix so you learn both acreage and contract-friendly crops.
When should I process instead of selling raw?
When the chain’s margin and timing beat the current spot price and you have fuel plus storage to wait.
How do contracts change the plan?
Deadlines and rewards can justify planting or selling below peak market price if they fund fuel or unlock progress.